Cancel Blooming and Streaks
This page introduces how to cancel the blooming and streaks using the PIXY System 2, and some examples.
When a very bright star comes in the field of the CCD image, it causes blooming or streaks.
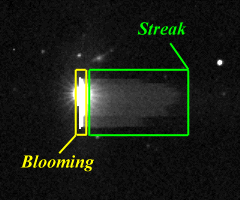
The blooming is the intensive vertical line of the flood light from the saturated bright star. Because the PIXY System measures the position of a star as the gravity center, it is shifted along the intensive line when the blooming appears. As a result, the system cannot find the data in the star catalog at the measured position, and outputs the star as a candidate of new object.
The streak is a belt of light spreading horizontally to one side from a bright star, like a cometary tail, as being blurred by a brush. Because the pixel value is larger than usual in the streak areas, the system sometimes detects noises and outputs as candidates of new objects by mistake.
The blooming and streaks are not only eyesore to appreciate the image, but also cause some problems while automated image examination using the PIXY System. The blooming and streaks can be deleted from the image using the PIXY System 2.
|
| |
Before processed.
|
After processed.
|
Here are the steps to delete the blooming and streaks using the PIXY System 2.
- Select [Tools] - [View Image] menu in the main window and open the image.
- Click the right button of your mouse and select [Streak Cancel Filter] or [Blooming Cancel Filter] menu.
- Wait for some minutes.
- Click the right button of your mouse and select [Save] menu, and save the image.
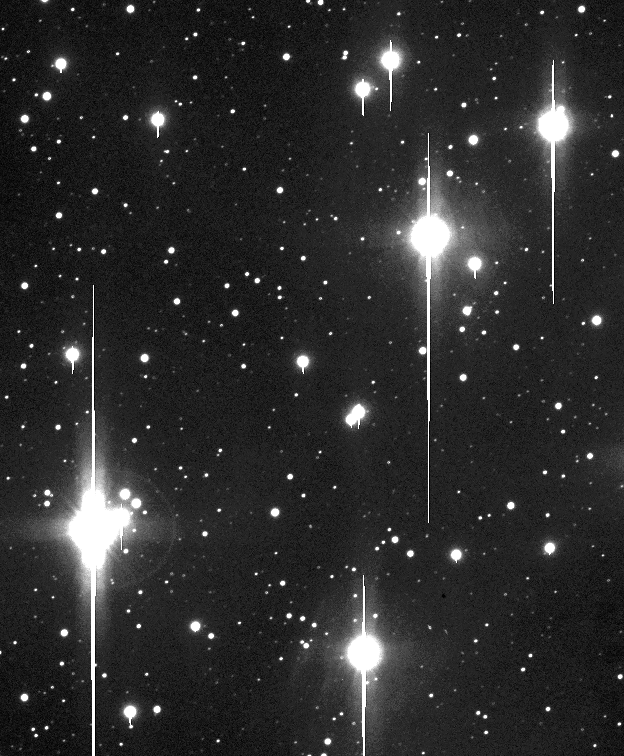
Examinations
 M45 (Image by Toshikazu Muramatsu)
The original image.
FITS image
After operating the blooming cancel filter. In the original image, many stars causes blooming. But they are deleted by the blooming cancel filter.
FITS image
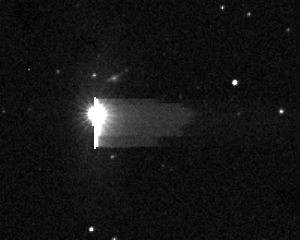
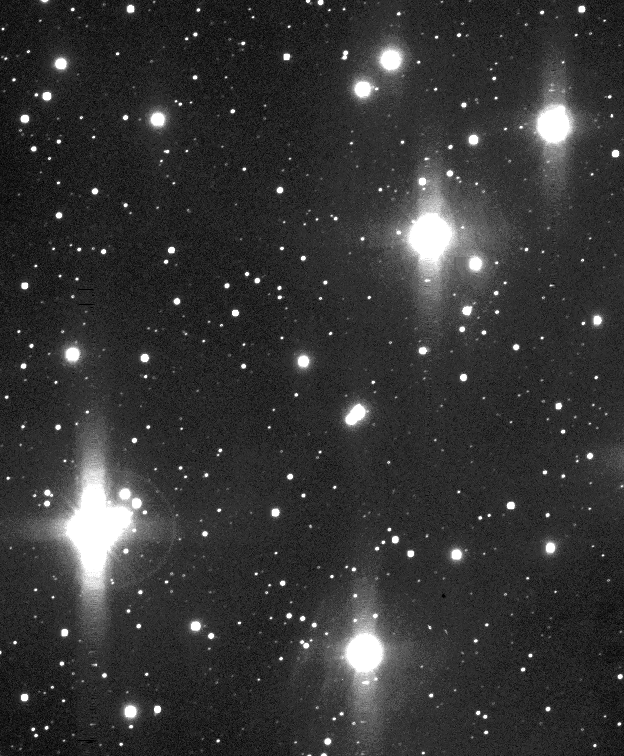
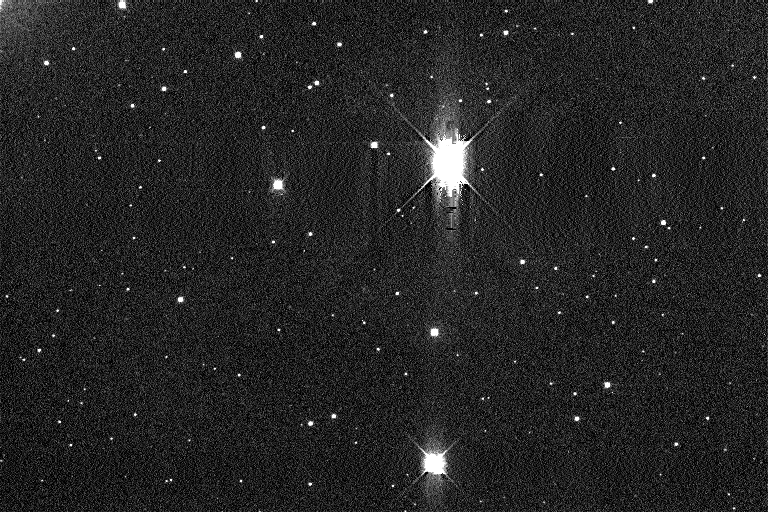
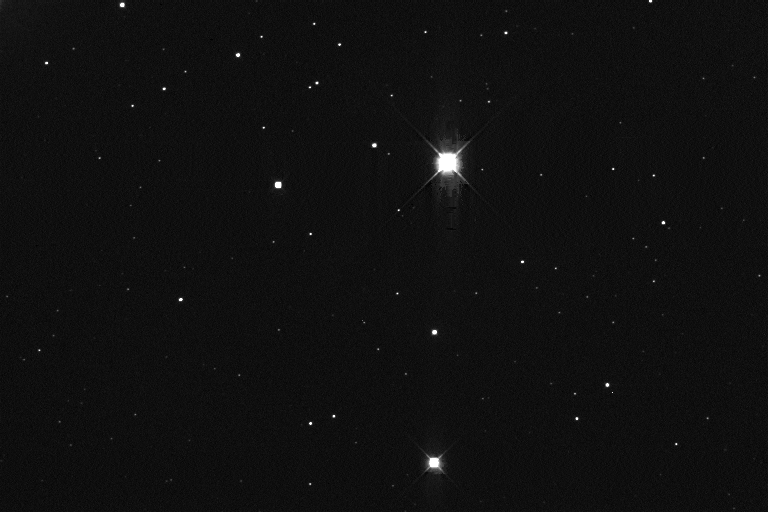
2000 UV13 (Image by KenIchi Kadota)
The original image.
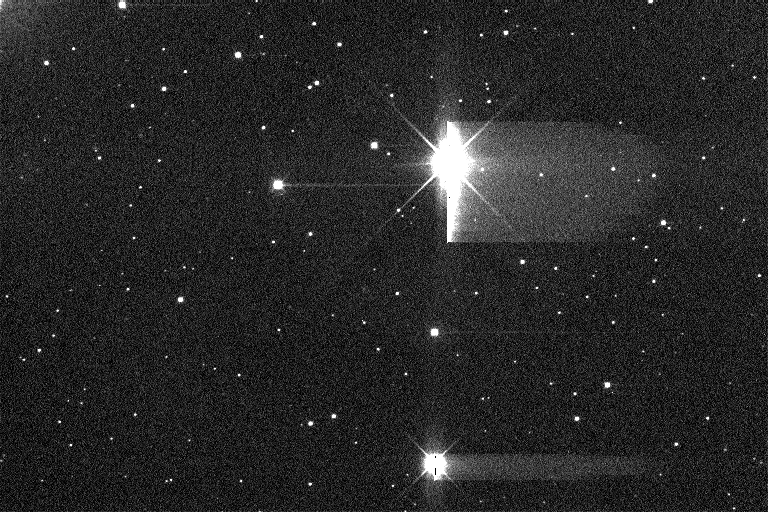
FITS image
After operation. In the original image, both the blooming and streaks appear at the same time. Operating the streak cancel filter at first, then operating the blooming cancel filter, and most of the blooming and streaks are deleted. In addition, the cross pattern by the sub mirror and the stars in the streak area are remained properly after the operation.
FITS image
The captured image at the weak brightness (before operation).
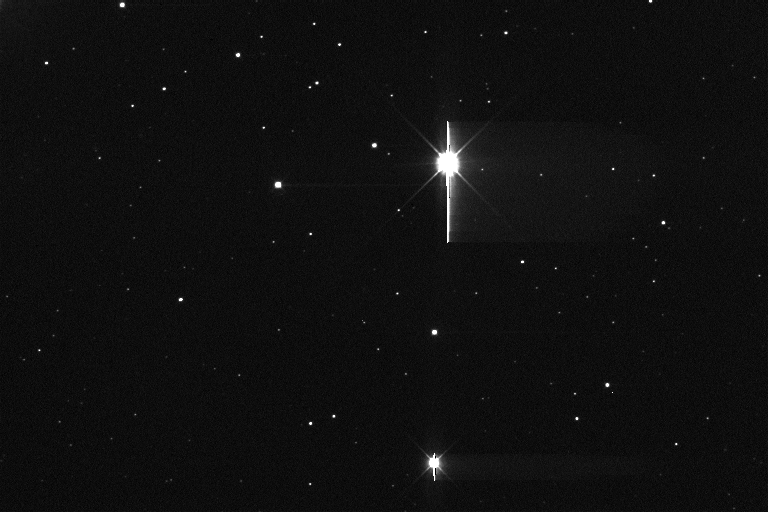
The captured image at the weak brightness (after operation).
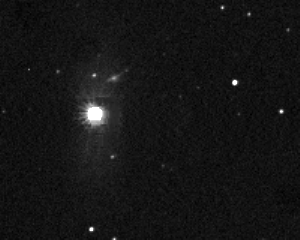
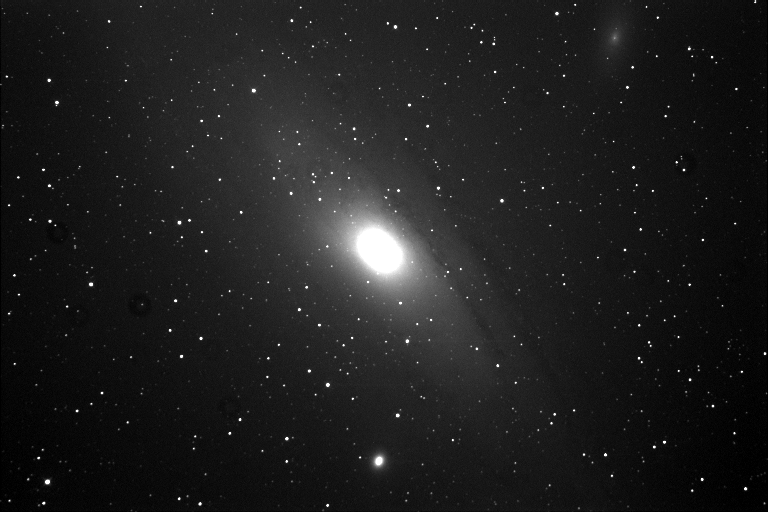
M31 (Image by KenIchi Kadota)
The original image.

FITS image
After operating the streak cancel filter. In the original image, no streak appears and there are faint nebulae. This shows that the streak cancel filter does not delete the nebulae.
FITS image
Operation of the two filters, especially of the streak cancel filter, takes some minutes, about between one minute and ten minutes. The time changes based on the computer.
The current version has some limitations.
- The streaks must spread horizontally.
- The blooming must stretch vertically.
- The blooming stretching through two or more bright stars, or the blooming without the star itself in the image field are not supported.
Because not too many images have been operated by these filters, I think they cannot work well on some images. Then please make a contact to Seiichi Yoshida.
| 